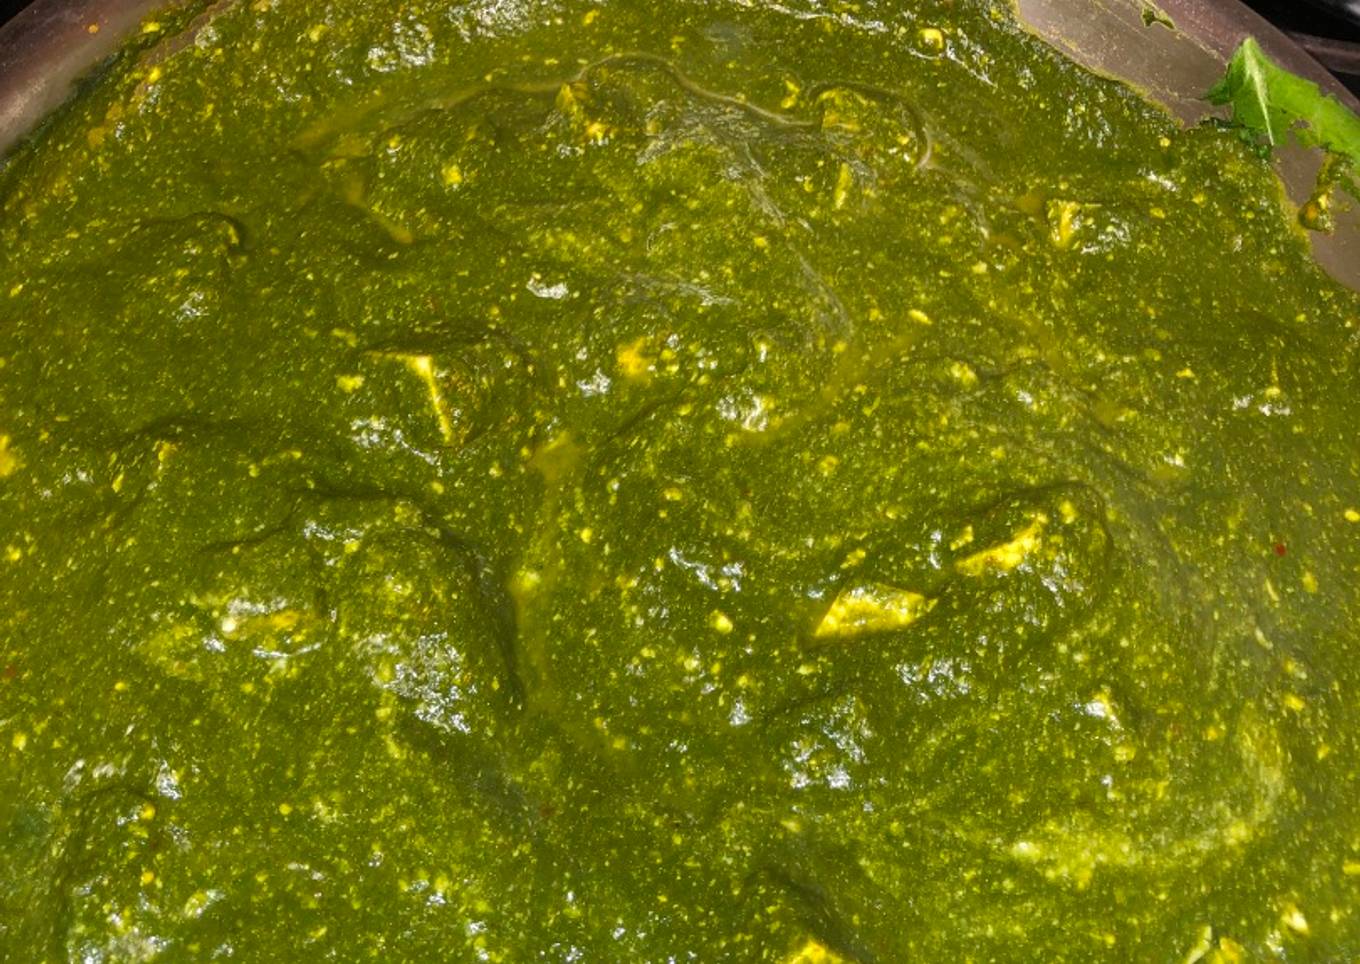
Homemade Saag Paneer
Hello everybody, I hope you are having an incredible day today. Today, I'm gonna show you how to prepare a distinctive dish, Homemade Saag Paneer. It is one of my favorites. For mine, I'm gonna make it a bit tasty. This is gonna smell and look delicious.
Homemade Saag Paneer is one of the most favored of recent trending foods on earth. It is enjoyed by millions daily. It's easy, it's quick, it tastes delicious. Homemade Saag Paneer is something that I have loved my whole life. They are nice and they look wonderful.
Many things affect the quality of taste from Homemade Saag Paneer, starting from the type of ingredients, then the selection of fresh ingredients, the ability to cut dishes to how to make and serve them. Don't worry if you want to prepare Homemade Saag Paneer delicious at home, because if you already know the trick then this dish can be used as an extraordinary special treat.
As for the number of servings that can be served to make Homemade Saag Paneer is 4 servings. So make sure this portion is enough to serve for yourself and your beloved family.
Just in addition, the time it takes to cook Homemade Saag Paneer estimated approx 1 hour.
To get started with this recipe, we have to first prepare a few components. You can cook Homemade Saag Paneer using 21 ingredients and 15 steps. Here is how you can achieve it.
Inspired by my roommate and best friend's lovely mother, Ashu Manoj. She's been teaching me Indian recipes for the last two years (I've been an Indian food groupie for all my life).
Ingredients and spices that need to be Take to make Homemade Saag Paneer:
- Saag Paneer
- 12 ounces paneer (if you're in Atlanta, Patel Plaza on Buford highway is the spot!)
- 20 ounces (approx.) of fresh spinach (about a bag and a half, or two bushels)
- 1 white onion, chopped roughly
- 1 tomato, chopped roughly
- 1 tablespoon ginger, peeled and chopped roughly
- 2 tablespoons ground cumin, or 1 tablespoon of cumin seeds (preferred)
- 3 cloves garlic, peeled and chopped roughly
- 2-3 tablespoons neutral cooking oil (I use coconut oil, but you can use olive or vegetable)
- 1 tablespoon ground coriander
- 1 tablespoon ground turmeric
- 1 tablespoon garam massala
- 1 cup plain yogurt (can use Greek yogurt if you prefer)
- 1 Serano pepper (remove or keep the seeds for desired spice level)
- Salt to taste
- At-home Basmati Rice
- 1 cup white or Basmati rice
- 1 cup water
- 1 tablespoon salt
- 2 bay leaves
- 1 tablespoon cumin seeds (optional)
Instructions to make to make Homemade Saag Paneer
- Roughly chop your spinach, tomato, Serano pepper and onion.
- Heat a large pan to medium and add 1-2 tablespoons of neutral oil. Wait for the oil to get hot—an easy way to do this is by adding cumin seeds, which will start to pop and simmer as they heat up.
- Once the pan and its oil are heated, add your chopped onion, pepper, garlic, ginger, and tomato. Cook until your onion is slightly translucent and the tomato has softened (about 3 minutes).
- Remove onion and tomato, and place into the bottom of a blender.
- Now, take your roughly chopped spinach and add it to the pan with a dash of more oil. Add all of your spices: cumin, coriander, turmeric, garam masala, salt and pepper. Lower the heat slightly from medium and cook the spinach until it is wilted, but still retains green color. Feel free to add the spinach in batches, as the volume will significantly decrease as you cook the spinach.
- Once the spinach is cooked down, remove from heat and put it inside the blender with the onion, tomato, and pepper.
- Add about half of a cup of water to the cooked mixture within the blender, then blend until smooth—usually the puree setting works best for this. This should only take a minute or so! Add more water if needed to liquify.
- While the spinach mixture is inside the blender, wipe down your pan and reheat it to medium. Add a bit of neutral oil and the paneer cubes (these can be added from frozen, but defrosting is preferred)
- Cook the paneer until it is slightly browned, then remove from heat and save on an additional plate.
- Once the paneer is cooked and sitting on stand-by, pour the spinach mixture into the heated pan. Reduce heat to a simmer and stir for 1-2 minutes.
- Add 1 cup of plain yogurt (more or less as desired) and mix into the warm spinach mixture. This should thicken your curry and add creaminess.
- Add the seared paneer to the mixture. Cook together for another few minutes until the curry thickens, usually about 5 minutes.
- As the saag thickens, it's time to cook your rice! Rinse 1 cup of rice in a mesh strainer to remove extra starch.
- If you have a crockpot, now is the time to shine. Add your rinsed rice to a crockpot, along with salt, 2 bay leaves, and a cup of water. Secure the lid, set cooking time to 5 minutes and pressure cook on high.
- Once your rice is done pressure cooking and the steam has evaporated, fluff and serve with your saag paneer curry.
As your experience and also confidence expands, you will certainly find that you have a lot more all-natural control over your diet as well as adapt your diet to your personal preferences gradually. Whether you intend to serve a dish that utilizes fewer or more components or is a little more or less spicy, you can make straightforward changes to accomplish this goal. Simply put, start making your recipes on schedule. As for basic cooking skills for novices you don't need to learn them however just if you understand some straightforward cooking methods.
This isn't a complete overview to quick as well as simple lunch dishes but its excellent food for thought. Hopefully this will certainly get your creative juices flowing so you can prepare scrumptious meals for your household without doing a lot of heavy meals on your journey.
So that is going to wrap this up for this exceptional food Recipe of Homemade Homemade Saag Paneer. Thank you very much for your time. I am sure you can make this at home. There's gonna be interesting food in home recipes coming up. Don't forget to save this page on your browser, and share it to your loved ones, colleague and friends. Thanks again for reading. Go on get cooking!


Comments
Post a Comment